Archive
Installed Rudder Fairing, etc. – 9 hrs
Sunday April 20, 2014
Easter weekend, so happy resurrection day! I had the chance to fly an RV-7 (N223J) on Saturday with Jake Lewis, a neighbor in Mission Viejo and resident of a hangar at KAJO. We flew out to San Clemente and up the coastline to Huntington Beach. He let me pilot from the right seat most of the time. It was a blast. So much different than the C172 and I am anxious to put the spam can days behind me.
Back at home after lunch I completed the final installation of the lower fairing on the rudder. I had drilled pilot holes but I needed to install nutplates and countersink the fiberglass for Tinnerman washers. Here is a view of the nutplates installed along the attachment strip.
And here is a view with the fairing installed with the washers. I guess I could have spaced the screws out a little more and used fewer. This thing is on solid.

I also made and installed a tab for the local electrical grounding of the strobe light. I needed to ground the cable shielding on both ends to minimize EMI concerns but there was no convenient place to screw down the ground lug. So I made a tab, installed a nutplate on it, and riveted it to the bottom rib of the rudder.

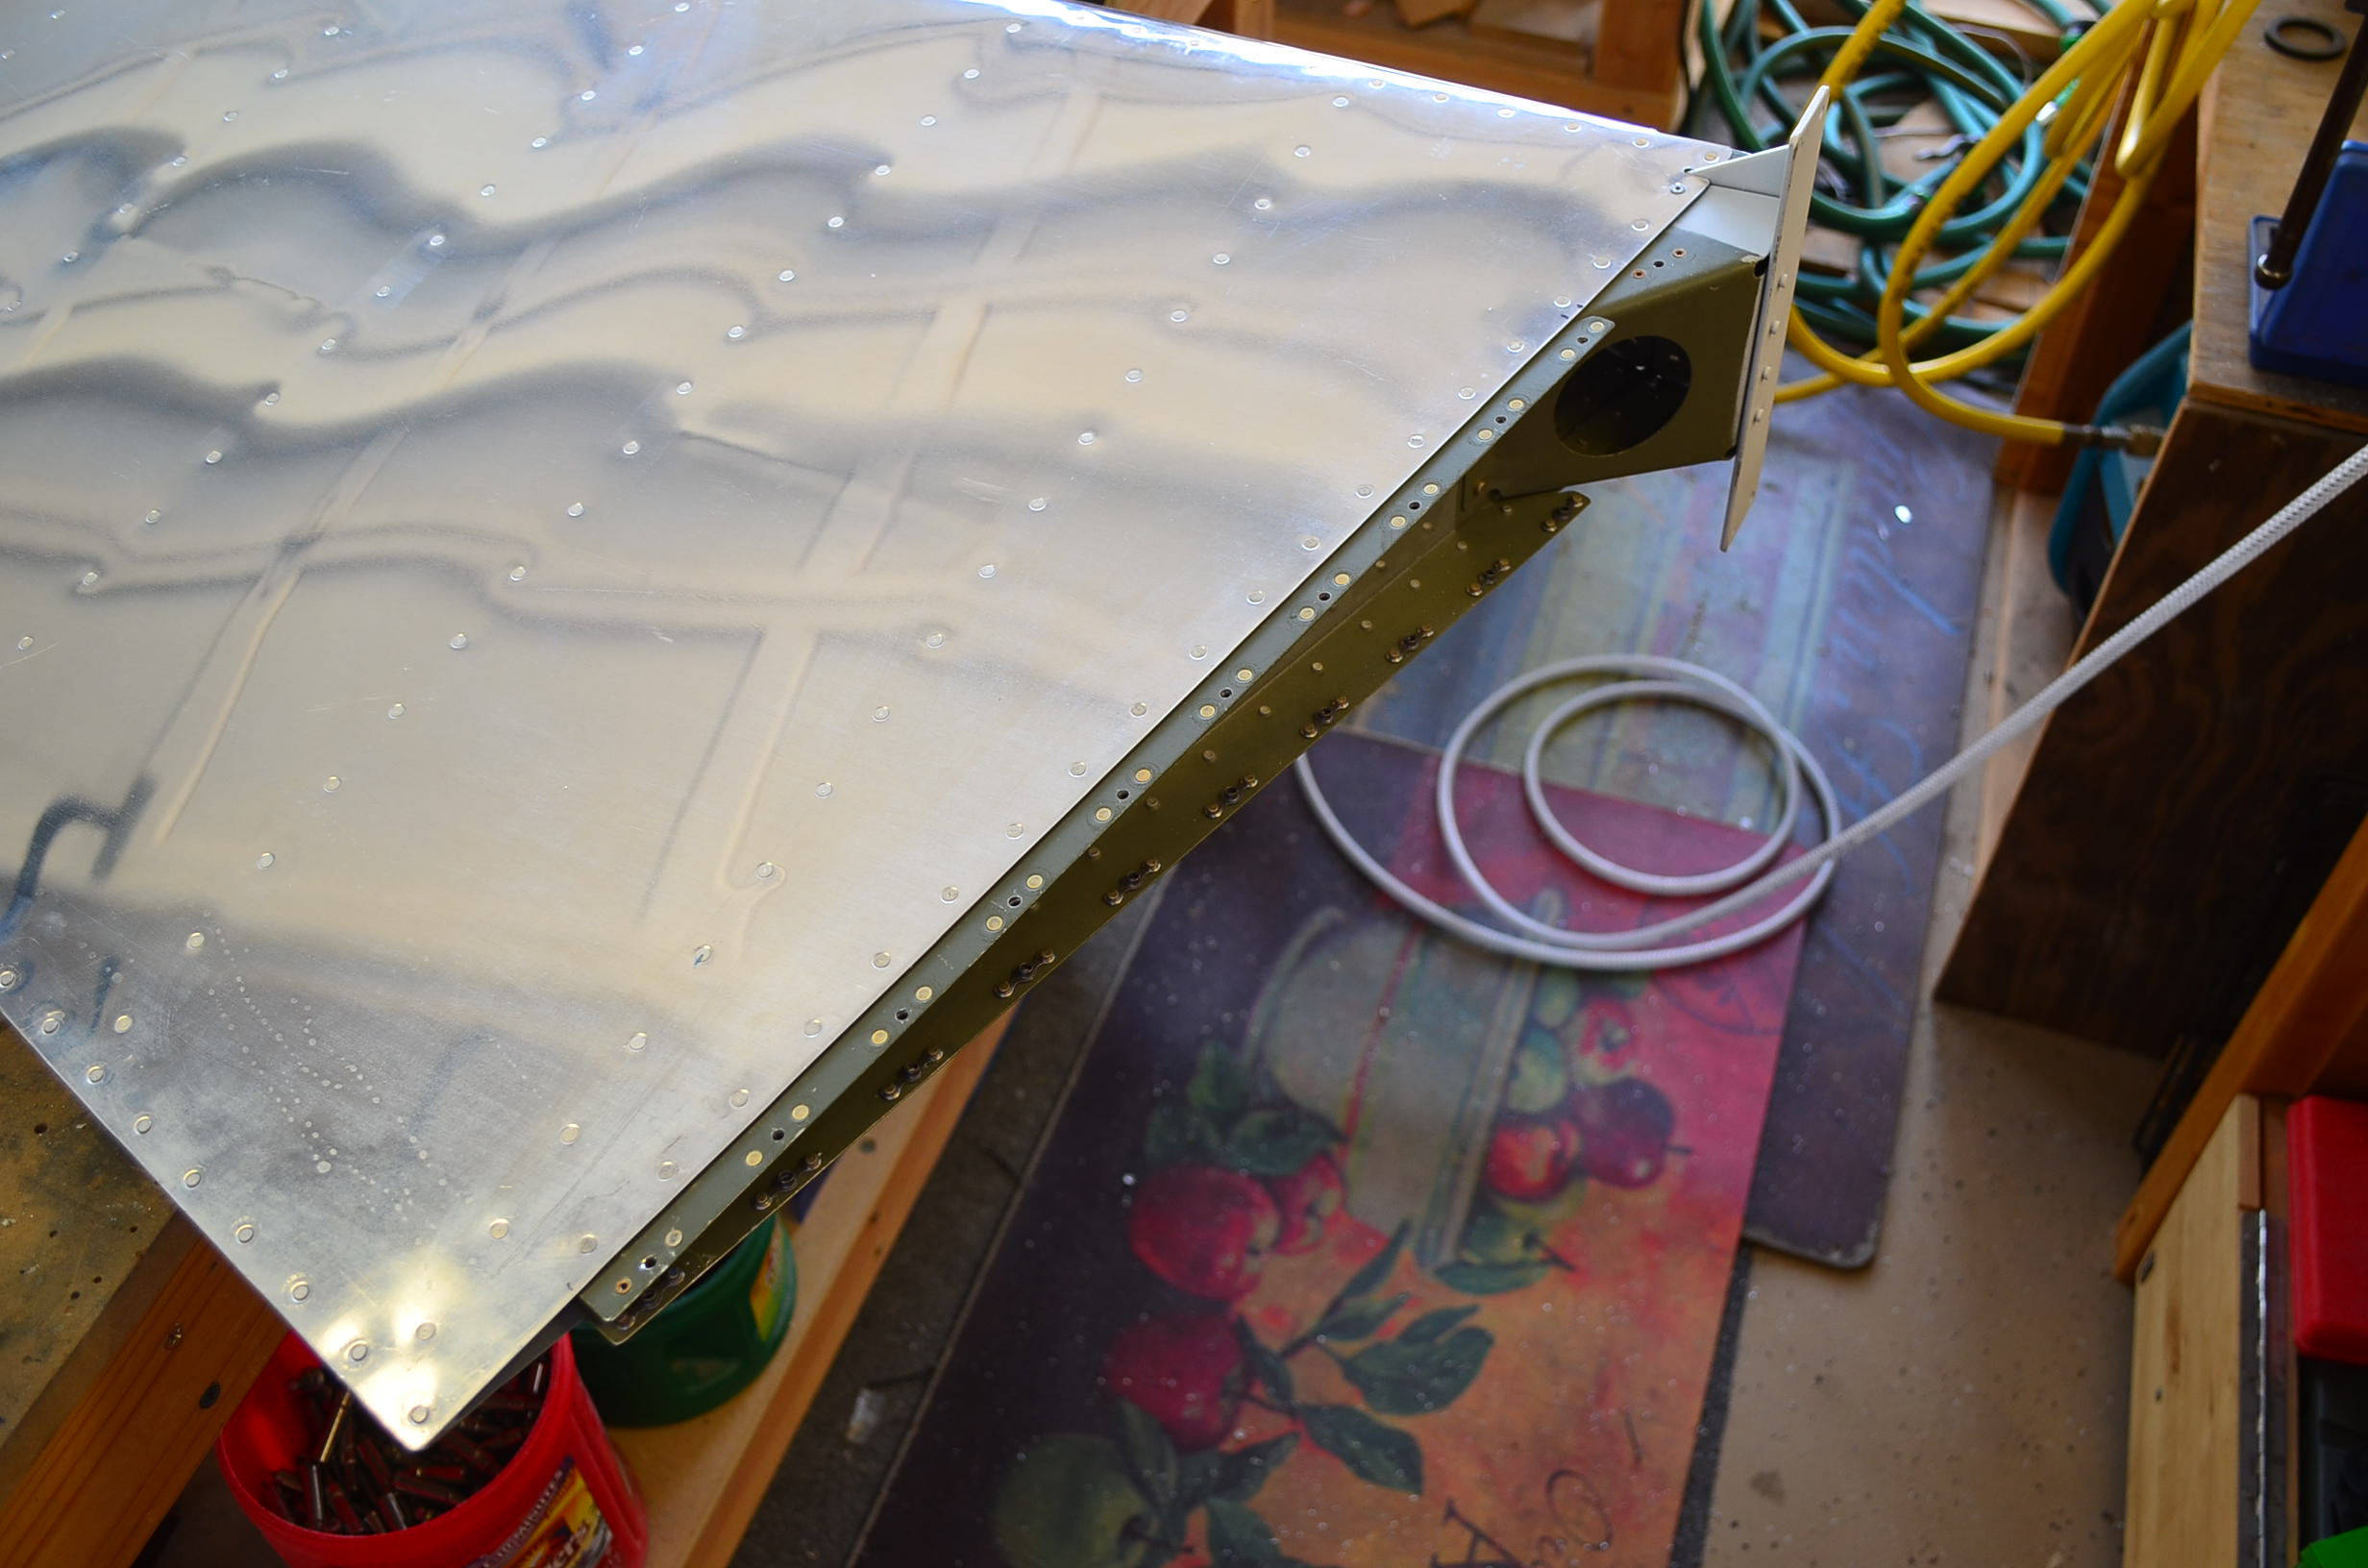
On Sunday evening after getting home from my daughters place I installed the nutplates on the horizontal stabilizer for the empennage fairing. Here is a view of the fairing test fit.

The list of things to do before moving to the airport is getting shorter and shorter.
Empennage Fairing Nut Plates – 2 hrs
Tuesday May 1, 2012
Tonight I had some help from my daughter Jennifer. On my list of things to do was to install the nutplates on the aft fuselage for the empennage fairing. So first we drilled all the holes for the nut plate rivets. Then we dimpled the nutplate rivet holes and the holes in the aft top skin and the corresponding fuselage bulkhead. That required the removal of the aft top skin which took a while. Once dimpled, we reclecoed the aft top skin in place. I think this is ready to rivet the aft top skin in place. I just need to review the plans to make sure nothing major needs to be done in the aft fuselage before I do.

I also did final installation of the outboard screws on the roll bar with accompanying washers and lock nuts. I should not have to remove these again.

More Empennage Fairing Work – 6 hrs
Sunday Mar 25, 2012
Fiberglass work is not my favorite, but is has to get done. I finished trimming the empennage fairing and I drilled all the holes that attach the fairing to the strutcure and then I drilled the holes that will have #6 nutplates to #27. Fortunately a 1/8 inch cleco works fine in a #27 hole.

Along the longerons I drilled the holes out to #36 to be tapped for a #6-32 thread and on the aft end I had to drill out two more rivets.

I plan to use tinnerman washers on the fairing so I countersank the holes accordingly.

I sanded the edges and the entire outer surface of the fiberglass to prepare it for priming. I’m expecting pinholes in this thing so I plan to use several coats. I did not have to cut and patch the fairing on the right leading edge because I was able to shape it to a snug fit using a hot air gun. I just warmed it up until it got soft and I pressed it into contact with the leading edge using the end of a socket wrench extension until the material cooled.

Then I removed the pitch autopilot servo motor from the fuselage and I installed a 9-pin D-sub connector along with some woven braid to protect the bundle.

Pitch Autopilot Servo Install, Part 1 – 1.5 hrs
Thursday Mar 22, 2012
After three days of curing the Proseal was finally firm enough that I could rivet the NACA vent scoops to the fuselage skin. Four rivets per side and they are done!

Then I started preparing the autopilot pitch servo for installation. First thing was assembling the pushrod per the dimension in the Dynon instructions. Then I mounted the pushrod to the elevator bellcrank. It was much easier to do that on the bench because you have to slide an AN960 washer between the two halves of the bellcrank to keep from bowing the plates when you tighten down the nut.

I put the bellcrank back in and mounted the servo motor, then attached the pushrod to the motor crank arm. Everything seems to work fine. I may adjust the pushrod a little longer because it looks like the center of the motor travel is off a little from the center of the linkage range. I will also remove the motor again to install a 9-pin connector because that is easier to do on the bench also.

I also did some more trimming of the empennage fairing and I drilled all the holes into the vertical stabilizer with a #40 drill. All these holes with clecos will be drilled out and countersunk for a #6 screw with a Tinnerman style washer.

The fit on the left side at the leading edge is actually not bad. I think I could live with this.

The right side is not as good however. That lower lip does not fit tight against the leading edge and would create extra drag. I will have to do some more work on that region.


A really nice example of an RV7A by Byron Graves. I hope mine looks half this good

Build Phase
